
Ich habe bereits Blog Beiträge zum Tensorflow mit Android nutzen wo ich Ubuntu Linux verwendet habe.
Los gehts mit macOS (El Capitan) und iOS. Ich bin froh, dass mein Laptop kein Sierra unterstützt, weil da gibt es aktuell noch offene Issues auf Github 😛
Erstmal brew installieren (wohl das pip für Mac!?)
/usr/bin/ruby -e "$(curl -fsSL https://raw.githubusercontent.com/Homebrew/install/master/install)"
Requirements installieren (hier alles zusammengewürfelt, evt. zu viel)
brew cask install java
brew install bazel swig
sudo easy_install ipython
sudo easy_install pip
sudo pip install --upgrade virtualenv
brew install python3
curl https://bootstrap.pypa.io/get-pip.py | sudo python3
brew install automake autoconf libtool
Falls ihr in das Problem undefined macro: AC_PROG_LIBTOOL hineinläuft, so fehlt libtool
virtualenv für Tensorflow einrichten und aktivieren (muss per terminal session immer aktiviert werden)
virtualenv --system-site-packages ~/tensorflow #create virtualenv tensorflow
source ~/tensorflow/bin/activate #activate virtualenv
Tensorflow laden und installieren (hier v0.11, aktuelle von tensorflow.org holen)
export TF_BINARY_URL=https://storage.googleapis.com/tensorflow/mac/cpu/tensorflow-0.11.0rc2-py3-none-any.whl
sudo pip3 install --upgrade $TF_BINARY_URL #install
Tensorflow configurieren. Ich hab überall nein gesagt und Pfadabfragen mit Enter bestätigt
#configure tf
./configure
  #in case of “target 'gson' not declared in package 'external’”
  rm -rf tensorflow/contrib/makefile/downloads
Jetzt solltet ihr XCode via AppStore installieren. Hierzu links oben auf den Apfel drücken und dann auf AppStore. Empfohlen wird allerdings eine etwas ältere Version. Falls es Probleme gibt also besser downgraden oder gleich die empfohlene Version im Internet suchen und installieren. Ältere Versionen gibts hier (aktuell v7.3. empfohlen).
Nachdem XCode installiert wurde werden noch die command line tools dafür benötigt
xcode-select --install #install command line tools
Tensorflow von git holen und in ein Verzeichnis tensorflowGIT speichern
git clone https://github.com/tensorflow/tensorflow.git tensorflowGIT
cd tensorflowGIT
Dependencies installieren
tensorflow/contrib/makefile/download_dependencies.sh
Alles schnell mal bauen. Tipp: Nach „Energy Saver“ suchen und Computer Sleep auf Never stellen. Dauert nämlich recht lang.
tensorflow/contrib/makefile/build_all_ios.sh
Nochmal manuell bauen
tensorflow/contrib/makefile/compile_ios_protobuf.sh

#create library that can be referenced by XCode
make -f tensorflow/contrib/makefile/Makefile \
 TARGET=IOS \
 IOS_ARCH=ARM64

tensorflow/contrib/makefile/compile_ios_tensorflow.sh
Graphen aus dem Netz (binaries, daher nicht in Git) laden und in die ios_examples kopieren
#Download Inception v1, and extract the label and graph files into the data folders
mkdir -p ~/graphs
curl -o ~/graphs/inception5h.zip \
 https://storage.googleapis.com/download.tensorflow.org/models/inception5h.zip \
 && unzip ~/graphs/inception5h.zip -d ~/graphs/inception5h

#copy graph to ios_examples
sudo cp ~/graphs/inception5h/* tensorflow/contrib/ios_examples/benchmark/data/
sudo cp ~/graphs/inception5h/* tensorflow/contrib/ios_examples/camera/data/
sudo cp ~/graphs/inception5h/* tensorflow/contrib/ios_examples/simple/data/
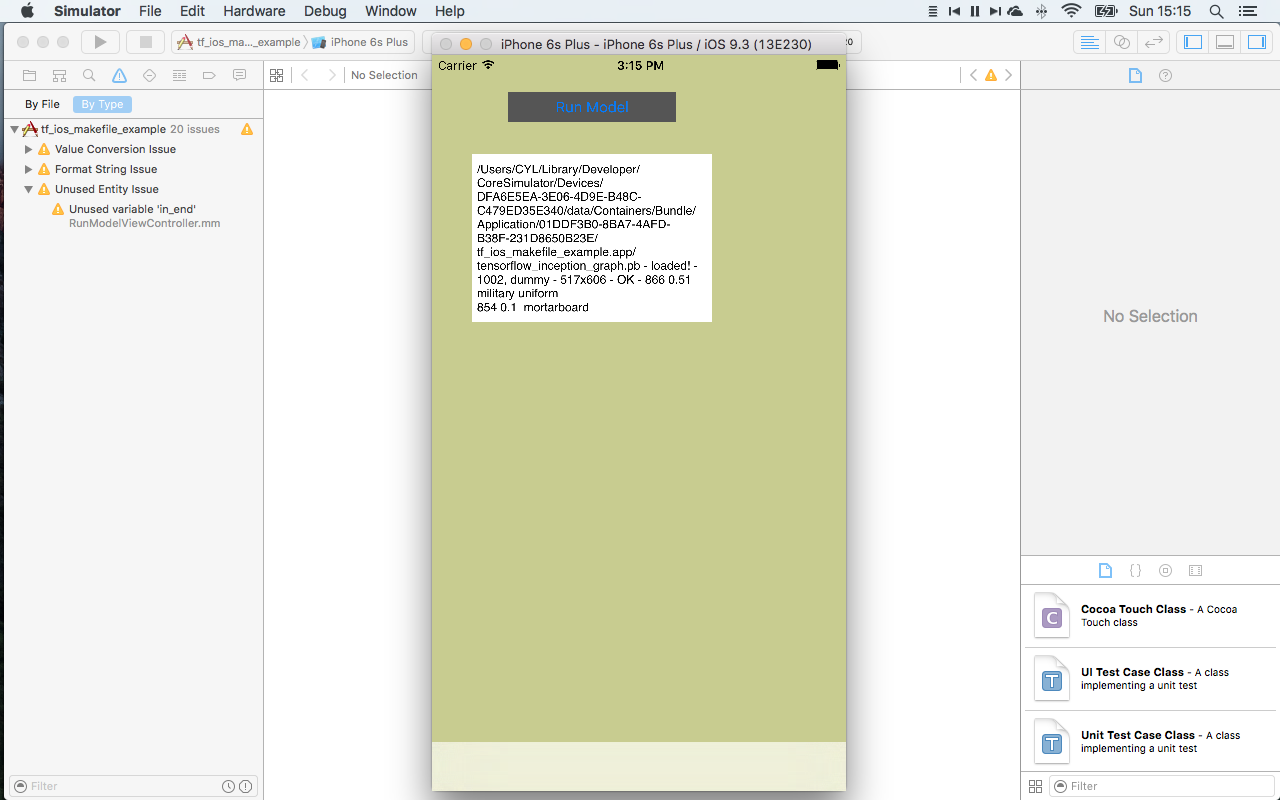
simple example mit XCode öffnen
#open “simple” project in XCode
open tensorflow/contrib/ios_examples/simple/tf_ios_makefile_example.xcodeproj
Mit Apfel+R wird kompiliert und der Simulator startet.
Falls ihr einen CpResource imagenet_comp_graph_label_strings.txt Fehler bekommt, wurden die cp Befehle auf den graphs Ordner nicht (richtig) ausgeführt.
Schreibe einen Kommentar